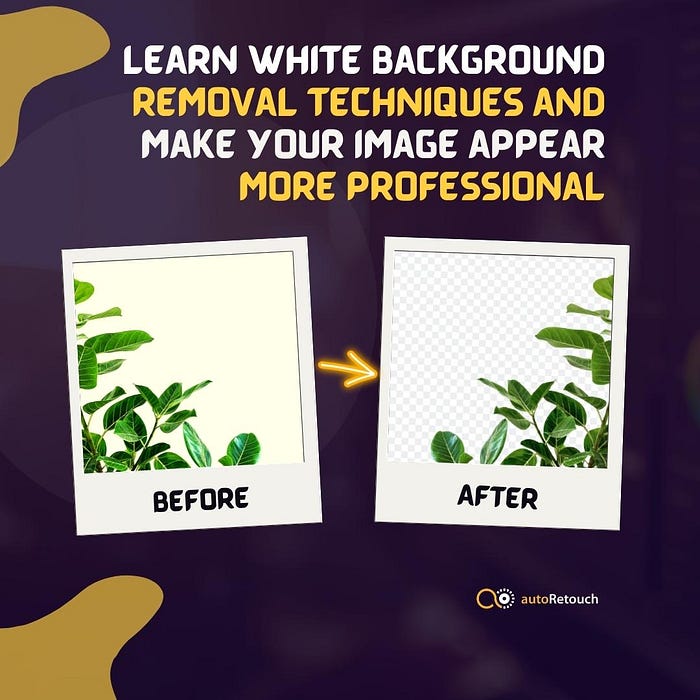
Background removal is a useful technique for editing your image. To make your image useful, you must have a transparent background. Without a transparent background, it will be difficult for your image to be flexible and used for different purposes. But when the background is white, you will not be able to determine if it is there or not. So, removing the background can become a little bit tricky. Also, selecting a white object is much more complex than selecting a complicated, colorful object. Because human eyes consider white as a blank color.
Websites To Remove The Background
There are multiple websites and image editing applications that help you to remove background. AI-based websites are quite effective for erasing the background like
- AutoRetouch
- Photoroom
- Slazzer
- Clipping Image
- Remove Background
Instead of manually erasing the background, you can use these websites to remove the background. But if you are unsatisfied with their result or want to remove the background, you can create a mask and delete the background to get a more accurate result.
Masking Effect To Remove The Background
You can also use the RGB color panel to separate the white background from the image and delete it. To use the masking effect to remove the background, you need to select the image layer and create a layer mask. When you select the ‘add a layer mask,’ a blank canvas will appear beside the image layer. Anything you will draw will appear on the canvas. Choose a small soft brush and create the outline of your object on that masking layer. Now ‘make selection’ to select the object. But as we need to select the background, you will need to go to the ‘selection’ option and choose ‘inverse select’ to select the background. Now you can delete the background to get rid of it and make the image transparent.
Color Panel To Remove The White Background
If you want to use the color panel to remove the white background, go to the channel and select the RGB channel from the color panel. You will see three panels of red, green, and blue colors. Choose the panel where the image appears to be the clearest. Make a copy of the panel and rename it. It will be your main working panel.
If you need to work with multiple panels, you’ll need to blend them to get a more precise result. Go to ‘image’ and select ‘apply image’. Then select ‘multiply’ under the ‘blending’ option and include the channel name under the ‘channel’ option. To get a clear edge, you might need to adjust the black and white balance from the ‘image adjustment’. After you are done with the adjustment, you can select the white background and delete it.
Using simple techniques or a high-quality photo editor can make your white background removal easier. So, learn these techniques and make your image appear more professional.
